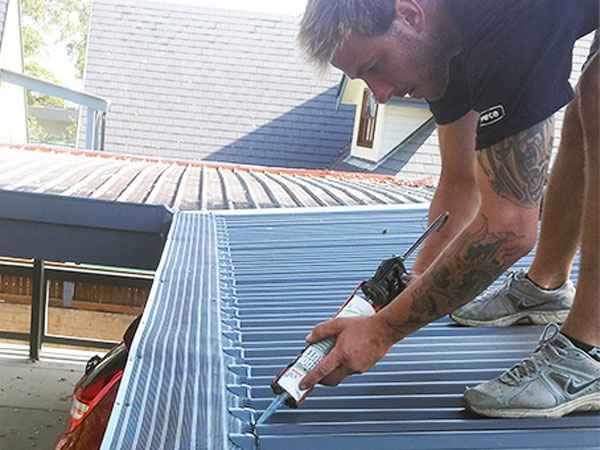
Before you hand over your hard-earned money to someone to work on your property, you want reassurance that they're actually good at getting the job done — installing gutter guards properly.
At Guttershield QLD, we get it because we feel the same.
Our team

Bobby
Chief of Guttershield Qld.
People tell me I’m a pretty happy and easy-going person, and I guess I am. I don’t get stressed because I’m fortunate that our products are very very good (so there’s no issues), and we have a wonderful team. I just let them get on with it because they really know what they’re doing. My job is to keep everyone happy.

Shane
Installation Chief
With 20 years’ experience in roofing industry, I’ve seen a lot of bad roofs and gutters and I want to fix them all! I’m pretty fussy, and make sure our installation teams do everything right, every time. I take extreme pride in our workmanship, and I love a good coffee and nice piece of cake.

Darren
Solutions Chief
I’ve had 35 years in the building industry, both on the tools and in sales roles. I love helping people to choose exactly the right product and service to suit their budget and needs. But I will only recommend products I truly believe in, and Guttershield tops the list.

Krystal
Organisational Chief
With a background in admin and event coordination, I love keeping everyone and everything organised. I make sure we all deliver great customer service, and that everything runs smoothly for our clients and team.
How we do what we do

Preparation
The first step is to remove all loose debris off the roof and valleys and clean out the gutters.
We use a combination of a brush, blower and hose to make sure we do a thorough job.
Once the roof and gutters are clean, any loose internal gutter brackets are reattached, and the gutter straightened.

Installation on tin roof
The premium G3 mesh is run out along the full length of each gutter, and attached using Colorbond trim or angle, which colour matches the gutter.
The mesh is screwed to the roof using a Colorbond saddle, shaped the same as the roof profile, and molds the mesh to the shape of the roof.

Installation on tiled roof
Attached to the gutter using Colorbond trim or angle, which matches the gutter colour.
With a tiled roof, the mesh is slid over the bottom tile and under the second row of tiles, and sealed around the hips.
This keeps the mesh the same angle as the roof, which lets loose debris and leaves slide, wash and blow off the roof.

Valleys and finishing
If protecting valleys is included in the job spec, we run the mesh down the valleys and securely affix to the roofing material.
All joins, hips and ends that we’ve worked on are sealed to prolong life span of the components.
Before we leave, we make sure the site is tidied up and we’ve left no mess.
